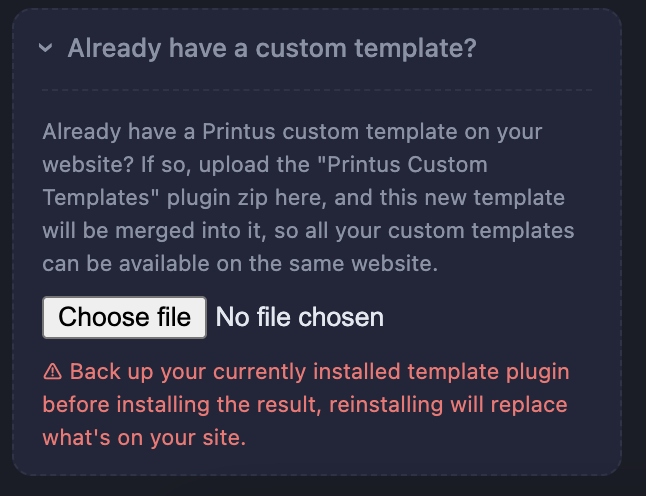
There may be cases where you want two different custom templates printed using Printus. If you’ve made use of our Template Generator located here: https://printus.cloud/printus-template-generator/ then you may have noticed the option to upload a previously created custom template to get it merged with a new one you’re about to purchase:
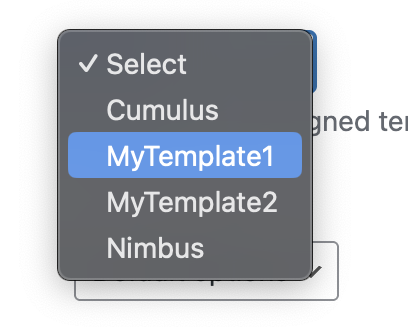
This is useful if you want to try out a new design to your receipts while still keeping the older version intact. Printus will detect all your available custom templates and show them in the selection area:
Now what if you wanted to print two of your custom templates every time an order comes through? Maybe a template for your kitchen (for example) and one for the customer. Good news, this is possible with Printus with the help of the below code snippet:
if (!function_exists('pct_handle_successful_print_request')) {
    function pct_handle_successful_print_request($request_info) {
        static $firing_secondary = false;

        if ($firing_secondary) {
            return;
        }
        if (($request_info['endpoint'] ?? '') !== 'printjobs') {
            return;
        }

        $order_id = $request_info['data']['order_id'] ?? null;
        if (empty($order_id) || !class_exists('\Printus\Controllers\API\Order\PrintOrderController')) {
            return;
        }

        $firing_secondary = true;
        (new \Printus\Controllers\API\Order\PrintOrderController())->sendPrintJob(
            $order_id,
            '', // Printer ID — leave blank to use the default selected printer in settings.
            'MyTemplate2' // Exact template name as it shows in the dropdown on the Printus templates setting page.
        );
        $firing_secondary = false;
    }
}
add_action('printus_successful_external_request', 'pct_handle_successful_print_request');In the above Snippet, we’re assuming that you have MyTemplate1 selected as your template of choice from the Printus settings screen, we also assume that you want the template called MyTemplate2 to also print every time an order comes in. The above code snippet prints both custom templates to the same printer you selected in Printus’ settings.
If you want MyTemplate2 to print to a different printer, for example one located in a different area, then you can set the Printer ID value. You can get the ID for a printer by checking your PrintNode dashboard:
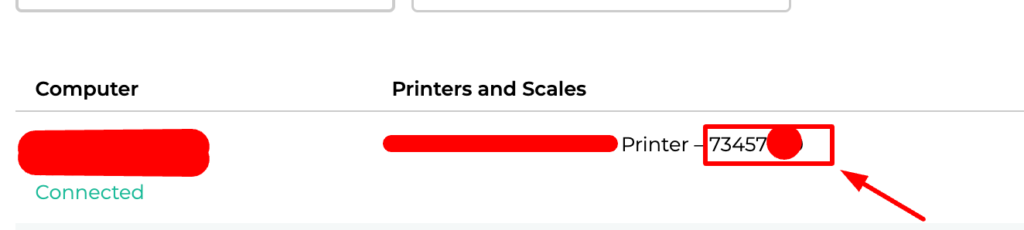
The code snippet below is an example where we want MyTemplate2 to print to a separate printer with ID: 12345678 every time a new order comes in:
if (!function_exists('pct_handle_successful_print_request')) {
    function pct_handle_successful_print_request($request_info) {
        static $firing_secondary = false;

        if ($firing_secondary) {
            return;
        }
        if (($request_info['endpoint'] ?? '') !== 'printjobs') {
            return;
        }

        $order_id = $request_info['data']['order_id'] ?? null;
        if (empty($order_id) || !class_exists('\Printus\Controllers\API\Order\PrintOrderController')) {
            return;
        }

        $firing_secondary = true;
        (new \Printus\Controllers\API\Order\PrintOrderController())->sendPrintJob(
            $order_id,
            '12345678', // Printer ID — leave blank to use the default selected printer in settings.
            'MyTemplate2' // Exact template name as it shows in the dropdown on the Printus templates setting page.
        );
        $firing_secondary = false;
    }
}
add_action('printus_successful_external_request', 'pct_handle_successful_print_request');


