Plugin Setup #
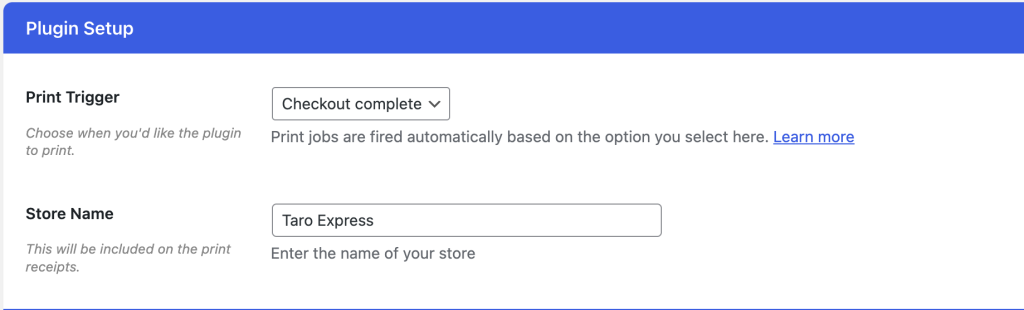
Print Trigger #
Print triggers control when a remote print job happens. There are 3 print triggers available, with the option to use any trigger (hook) that you prefer by making use of the printus_settings__print_trigger_hook filter. Any WooCommerce hook returned from this filter will override what you have set in the Printus settings.
Order Processing Trigger #
Fires a print job when the order status is set as “processing” by WooCommerce.
Order on-hold Trigger #
Fires a print job when the order status is set as “on-hold” by WooCommerce.
Order Complete Trigger #
Fires when the order is marked as “Complete” by WooCommerce.
Store Name #
Use this option to enter your store name. By default the option will use your website name.
Printer Setup #
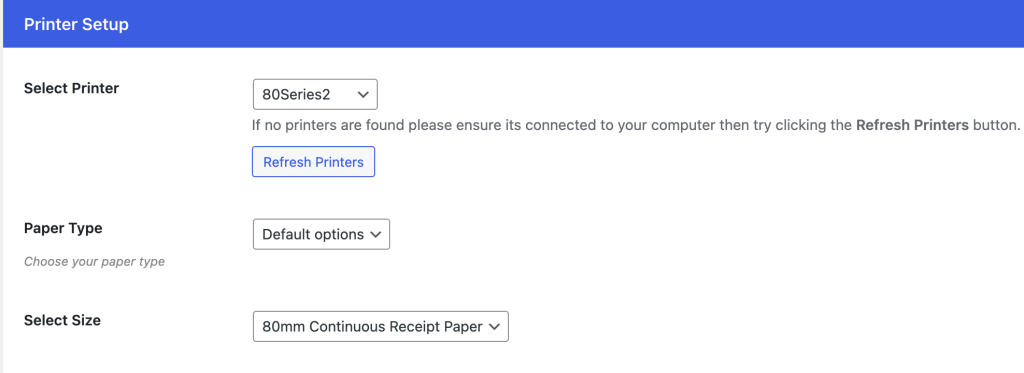
Select Printer #
Select the printer that you want to send print jobs to. If no printers are listed then click the “Refresh Printers” button. As long as you have successfully connected your printers to PrintNode then they will be pulled in here.
Paper Type #
Selecting “Default options” will present you with a list of standard paper sizes that you can use for your cloud printing. If your desired paper size is not in the list, then select the “Enter manually” option to set the dimensions of the paper you wish to use.


